Reproduction : How Life Continues — NCERT Solutions
CBSE · Class 9 · Science
NCERT Solutions for Reproduction : How Life Continues, CBSE Class 9 Science: 53 textbook questions solved step by step.
Interactive on Super Tutor
Studying Reproduction : How Life Continues? Get the full interactive chapter.
Quizzes, flashcards, AI doubt-solver and a step-by-step study plan — built for NCERT solutions and more.
Free trial, no card needed.
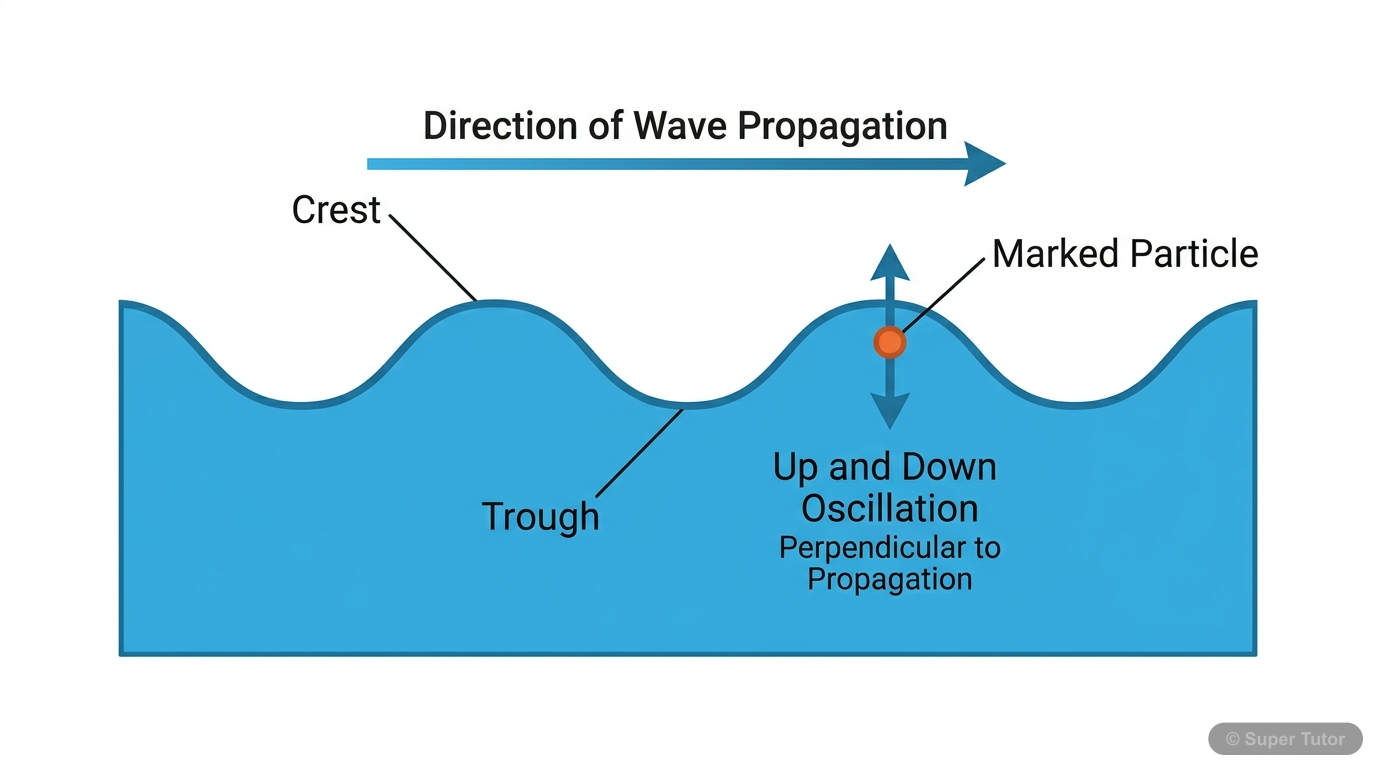
One of 2 illustrations for Reproduction : How Life Continues in Super Tutor — alongside flashcards, concept maps and practice questions.
The first 27 solutions are open to read. The other 26 are free with a Super Tutor account.
Think It Over
1When does a farmer prefer asexual or sexual methods of reproduction for crops production?Show solution
A farmer prefers asexual reproduction when he wants many genetically identical plants quickly, such as through cutting, grafting, layering, vegetative propagation or tissue culture. It is useful for large-scale propagation of desirable crops and for keeping the same useful traits. He prefers sexual reproduction when he wants variation and the development of new varieties through seeds, especially in plant breeding.
2Why do you think most complex animals and flowering plants use sexual reproduction, while many simple organisms, like yeast and hydra mainly reproduce asexually?Show solution
Most complex animals and flowering plants use sexual reproduction because it creates variation in offspring. This variation helps species adapt to changing environments and survive over generations. Many simple organisms like yeast and hydra mainly reproduce asexually because it is faster, needs only one parent, and helps them increase their number quickly when conditions are favourable.
Activity 11.1: Let us explore
1(i)Does the gardener, scientist or horticulturist cut the overgrown branches of a plant at the end of its growing season? (Different plants have different growing seasons).Show solution
In cutting, the gardener may cut the overgrown branches or shoots of a plant at the end of its growing season and use them to prepare new plants. So the correct response is Yes.
1(ii)Observe them prepare the cuttings from a plant for the purpose of growing new plants. Note the average length of the cuttings.Show solution
The cuttings are usually prepared as short shoot pieces. The chapter says to observe the average length of the cuttings and notes that they are inserted about half their length into the soil. So the cutting is generally a small stem piece with nodes and internodes, long enough to plant easily and allow roots to develop.
1(iii)Count the number of nodes and internodes on the cuttings.Show solution
The chapter does not give one fixed number. The number of nodes and internodes on cuttings depends on the plant and the cutting taken. Students are asked to count them by observation.
1(i)Does the gardener, scientist or horticulturist cut the overgrown branches of a plant at the end of its growing season?Show solution
Yes. In the cutting method, the overgrown branches of a plant may be cut at the end of its growing season to prepare cuttings for growing new plants.
Activity 11.2: Let us explore
11.2Do you observe any small, round outgrowths (buds) emerging from the parent yeast cells as shown in Fig. 11.6? Do these features indicate that the yeast is duplicating? How do these observations help you in understanding reproduction in yeast?Show solution
Yes, small round buds can be seen emerging from the parent yeast cells. These buds show that yeast is reproducing by budding, which is an asexual mode of reproduction. The bud grows, enlarges, and then separates from the parent cell to form a new individual. These observations help us understand that yeast reproduces by forming a small outgrowth from the parent cell rather than by fusion of gametes.
Activity 11.4: Let us explore
3Write your combination as 'light green, light blue, light red'.Show solution
The required combination is formed by picking one bead from each pair as described in the activity. The example combination given in the chapter is light green, light blue, light red.
4How many combinations can you make with just these three pairs of characters? Each time you make a combination using beads, you will get either the same combination or a different one. With just three pairs of characters, eight combinations are possible.Show solution
With three pairs of contrasting characters, each pair gives 2 choices. So the total combinations are:
So, 8 combinations are possible.
5Imagine how many combinations are possible with 23 pairs of chromosomes, each carrying genetic information for many characters.Show solution
With 23 pairs of chromosomes, each pair can contribute 2 possibilities, so the number of combinations becomes extremely large. The chapter only says to imagine how many combinations are possible and explains that this random mixing creates a unique combination in each person. So the answer is: an enormous number of combinations, far more than can be easily counted.
Activity 11.5: Let us explore
3Record the presence of various floral parts in the different flowers that you collected in Table 11.1.Show solution
The observation table should show the presence or absence of floral parts in the flowers collected. A complete flower has sepals, petals, stamens and pistil. So students should record which of these parts are present in each flower, along with any other features they notice.
4Analyse the function of each part of the flower based on visible characters.Show solution
- Sepals: protect the flower in the bud stage.
- Petals: attract pollinators because they are usually coloured and/or fragrant.
- Stamen: the male part of the flower; its anther produces pollen grains containing male gametes.
- Pistil: the female part; it has stigma, style and ovary. The ovary contains ovules, and each ovule has an egg cell.
So, each part has a specific role in reproduction, especially in pollination and fertilisation.
6Record any other feature(s) in Table 11.1.Show solution
Other features to record may include:
- whether the flower is complete or incomplete
- whether sepals and petals are fused or separate
- whether the stigma is flat or sticky
- whether the flower is coloured, fragrant, or has large petals
- the presence of ovary, ovules, anther, filament, style
These are features that can be seen while observing the flower and its sections.
Activity 11.6: Let us investigate
8Note your observations in Table 11.2.Show solution
In the observation table, the flowers that were not covered properly because stamens were removed from the flower bud should show no fruit formation. The other wrapped flowers and the uncovered flower should show fruit formation. Students should record Yes/No for each treatment accordingly.
9In which treatment(s) do you find the flowers are replaced by fruits?Show solution
Fruits are formed in place of flowers in all treatments except the one in which the stamens were removed from the flower bud.
10What can we infer from this activity?Show solution
We can infer that transfer of pollen grains from the anther to the stigma is necessary for fruit formation. In other words, pollination is required before fertilisation and fruit development can occur.
Activity 11.7: Let us find out
1Compare and analyse the two strategies in terms of (Table 11.3)—Show solution
From Table 11.3, wind-pollinated grasses produce a very large number of pollen grains but form relatively few seeds, while insect-pollinated plants produce fewer pollen grains but form many more seeds. So, insect pollination is generally more efficient in seed formation, whereas wind pollination needs huge pollen production because many grains are lost and only a few reach the stigma.
1(i)Pollen to seed ratioShow solution
For wind-pollinated grasses, the pollen grains released per flower are about 5,00,000–10,00,000, while seeds formed are only 50–200. This shows a high pollen to seed ratio.
1(ii)Efficiency of pollination and seed formationShow solution
For insect-pollinated plants, about 20,000–40,000 pollen grains are released, but 800–1,000 seeds may form. This means pollination and seed formation are more efficient than in wind-pollinated plants.
2Explain why producing a very large number of pollen grains can still be an effective pollination strategy.Show solution
Producing a very large number of pollen grains is effective because many pollen grains are lost in the air or do not reach the stigma. Only a few need to land on a compatible stigma for pollination to succeed. Since wind pollination is random, more pollen grains increase the chance of successful pollination and seed formation.
Pause and Ponder
1In a china-rose (hibiscus or gudhal) plant, a pollen tube grows and continues through the style after pollen lands on the stigma. Which process is about to happen next?Show solution
After the pollen tube grows through the style, the next process is fertilisation, where the male gamete fuses with the egg cell in the ovule to form a zygote.
2Look at the pictures (Fig. 11.16) of calotropis (madar) seeds and dandelion seeds given below. Can you guess what kind of seed dispersal these seeds are adapted for?Show solution
Calotropis seeds and dandelion seeds are adapted for wind dispersal because they are light and can be carried by air currents.
3A farmer plants two varieties of maize side by side, but notices that seeds form only when pollen from one variety reaches the stigma of the other. What type of pollination is this?Show solution
When pollen from one maize variety reaches the stigma of another variety, it is cross-pollination because pollen is transferred from one plant to another plant of the same type.
6Ravi suddenly notices that he is growing taller rapidly, his shoulders are broadening, and his voice cracks. What stage of life is he entering?Show solution
Rapid height increase, broadening shoulders and voice cracking are signs of adolescence or puberty, when reproductive maturity begins.
7Rina's period occurs every 28 days. Her last period was on the 5th of March. On which day is she most likely to get her next period?Show solution
A 28-day cycle means the next period comes 28 days after 5th March.
March has 31 days.
- From 5th March to 31st March = 26 days
- 2 more days take us to 2nd April
So, the next period is most likely on 2nd April.
8A human zygote has just formed. How many chromosomes does it have?Show solution
A human zygote is formed by fusion of a sperm and an egg. Each gamete has 23 chromosomes. So the zygote gets:
So, a newly formed human zygote has 46 chromosomes.
9What protective devices can be used during sexual activity to reduce the spread of STIs?Show solution
Condoms can be used during sexual activity to reduce the spread of STIs. The chapter also mentions vaginal covers as barrier methods, but the standard protective device named is condoms.
Free with a Super Tutor account
Free with a Super Tutor account
Revise, Reflect, Refine
Free with a Super Tutor account
Free with a Super Tutor account
Reason (R): The uterus wall is always prepared to receive the zygote.
Free with a Super Tutor account
Free with a Super Tutor account
Free with a Super Tutor account
Free with a Super Tutor account
Free with a Super Tutor account
Free with a Super Tutor account
Free with a Super Tutor account
Free with a Super Tutor account
Free with a Super Tutor account
Free with a Super Tutor account
Free with a Super Tutor account
Free with a Super Tutor account
Free with a Super Tutor account
Free with a Super Tutor account
Free with a Super Tutor account
Free with a Super Tutor account
The Journey Beyond
Free with a Super Tutor account
11.1 Asexual Reproduction
Free with a Super Tutor account
11.2 Sexual Reproduction
Free with a Super Tutor account
The Quest Continues ...
Free with a Super Tutor account
11.2.1 How does meiosis help create variations in sexual reproduction?
Free with a Super Tutor account
11.2.4 Pollination strategies and reproductive success
Free with a Super Tutor account
26 more solved questions in Reproduction : How Life Continues
They are free with a Super Tutor account, along with practice quizzes and flashcards for this chapter. Free to start, no card needed.
Frequently Asked Questions
What are the important topics in Reproduction : How Life Continues for CBSE Class 9 Science?
Are these NCERT Solutions for Reproduction : How Life Continues free?
How should I revise Reproduction : How Life Continues for Class 9 exams?
Sources & Official References
- NCERT Official — ncert.nic.in
- CBSE Academic — cbseacademic.nic.in
- CBSE Official — cbse.gov.in
- National Education Policy 2020 — education.gov.in
Content is aligned to the official syllabus. Refer to the board website for the latest curriculum.
More resources for Reproduction : How Life Continues
Practice Quiz
Test yourself with a quick quiz
Important Questions
Exam-style questions with answers
Revision Notes
Key points for last-minute revision
Chapter Summary
Understand the chapter at a glance
Concept Maps
See how topics connect
Study Plan
Step-by-step plan for this chapter
Flashcards
Quick-fire cards for active recall
Syllabus
What topics to cover
For serious students
Get the full Reproduction : How Life Continues chapter — start free.
Quizzes, flashcards, an AI doubt solver and a study plan for CBSE Class 9 Science. Free to start, no card needed.